
Godfall – Combat Mechanics Explained
This is a small guide for Godfall (including a video version below) that is aimed towards new players. It explains some of Godfall’s Combat Mechanics as well as provides examples of potential synergies in-between those mechanics as well as items that synergize with them. It covers areas like: Breach, Soulshatter, Takedowns, Weakpoints & Deathblow, Rampage, Archon Fury, and Weapon Techniques.
Guide Video footage:
Breach:
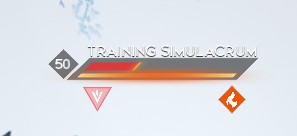
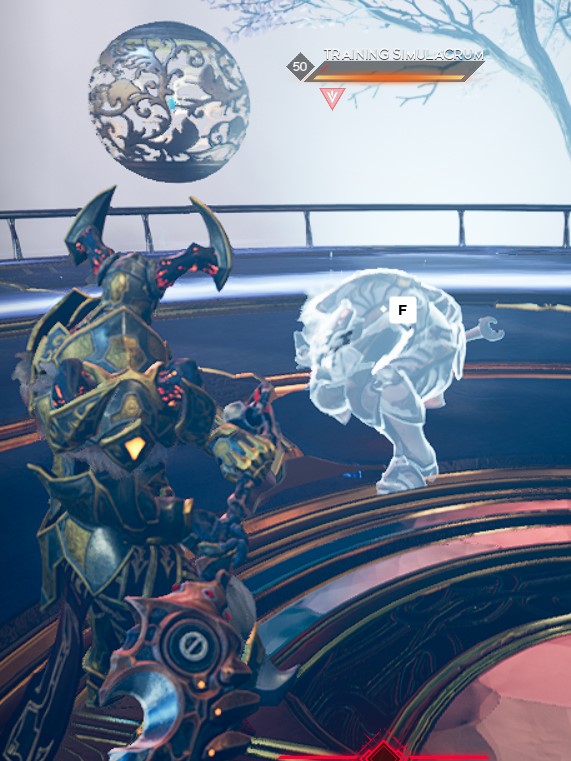
As you damage an enemy, you also deal Breach Damage to the enemy. After dealing enough Breach Damage, your enemy’s Breach bar (the yellow meter under an enemy’s HP bar) gets filled up and they become stunned & vulnerable to a Takedown.

- Heavy attacks deal increased Breach Damage
- Different Types of Weapons deal different amounts of Breach Damage
There are various items in the game that utilize the Breach mechanic such as Extra dmg To Breached enemies or extra Breach Damage to full HP enemies. It’s also a nice synergy to build around both Breach and Takedown bonuses together. The Armistice Valorplate has a Breach synergy and is pretty decent for both early and late/end game, especially in a team with someone on a Soulshatter Build. Armistice can also reach super high numbers of Might.
Soulshatter:
Soulshatter is an additional way to deal damage to your enemies.
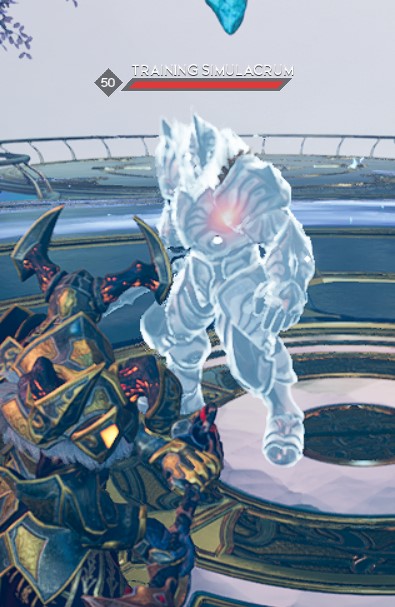
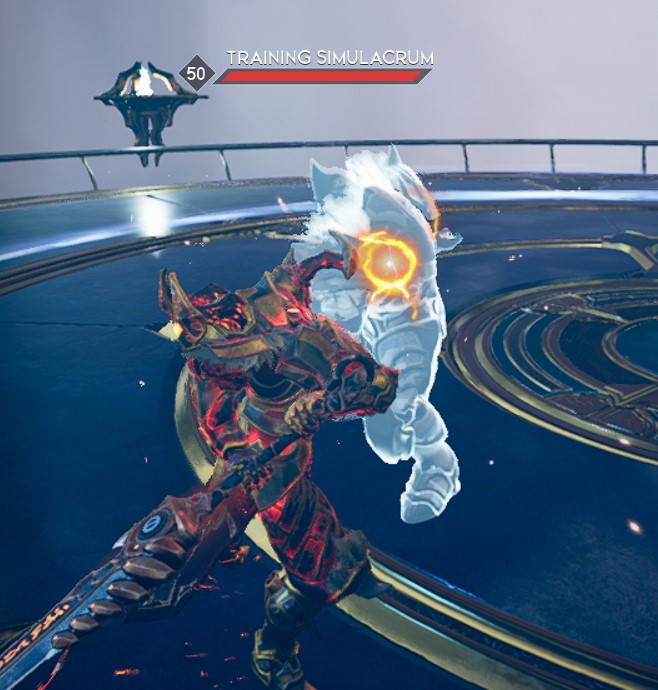
- Light Attacks and your Northern Technique apply Soulshatter Buildup to the enemy’s Health bar (the highlighted in white HP).

Soulshatter Buildup - Heavy Attacks and your Southern Technique consume all Soulshatter Buildup to deal Soulshatter Damage.
Consumed Soulshatter Buildup - To Soulshatter an enemy, defeat the enemy by dealing Soulshatter Damage (as the final blow).


There are various items in the game that utilize the Soulshatter mechanic and trigger powerful procs when you Soulshatter an enemy. The Greyhawk Valorplate has a Soulshatter synergy and is very good for both early and late/end game. It becomes even better if you have someone on a Breach setup in the team alongside your Soulshatter build.
Takedown:
Whenever an enemy becomes stunned or is made vulnerable (for example when it gets Breached), you can perform a Takedown to deal a large amount of damage. Takedowns can even defeat enemies outright.
Takedowns are an amazing mechanic in Godfall and can be used to strategically take out annoying opponents (like Mages, Rangers or Bulky, Tanky dudes) without needing to fully damage their HP with other attacks. There’s a nice synergy between Takedowns and Breach in a the game so you might want to consider combining both in your build. You might even want to consider the synergy between Takedowns + Shield Attacks and Takedowns + Timed Attacks.
Weakpoints & Deathblow:
Weakpoints indicate vulnerable hit locations on your enemies. Hit enemy Weakpoints to deal increased damage and knock them down.
- Weakpoints will only appear under specific circumstances, after you have unlocked the Weakpoints skill in your Skill Grid.
a weakpoint an activated weakpoint
(ready to do extra dmg) - You inflict a Deathblow whenever you defeat an enemy by striking a Weakpoint (as the last blow).
To perform a Deathblow, defeat an enemy by hitting it’s Weakpoint(s) and do the final blow this way. Some items will grant you Weakpoint damage bonuses or Deathblow proc synergies that trigger various effects after dealing a Deathblow.
Rampage:
To enter the Rampage mode you need to first land multiple weapon hits in a short period of time. Once in Rampage mode, you’ll deal +20% more damage. You loose the Rampage mode if you don’t hit any enemies for 10 seconds. There are various items + the Rampage skill that can provide a synergy with the Rampage mechanic by increasing it’s duration or the Rampage Charge Speed or give extra bonus damage during Rampage.
Archon Fury:
Each Valorplate has it’s own “ultimate” called Archon Fury. The Archon Fury effect is different for each of the 12 Valorplates in Godfall. While Archon Fury is active you’ll get unique effects and stat boosts based on the Valorplate you’ve chosen. Some Valorplates’ Archon Fury mode provides synergies with a certain elemental type of damage, others synergize with Breach, or Shoulshatter, or Weakpoints, or Resistances, etc. Here are some key features of the Archon Fury mode that always apply to you, regardless of the Valorplate you’ve chosen:
- Your damage is increased while Archon Fury is Active.
- You don’t take damage while Archon Fury is active. Instead enemy hits reduce the duration of Archon Fury.
- Activating Archon Fury will deliver a powerful initial effect (that often times will incapacitate the nearby enemies for a short time, but not make them vulnerable for a Takedown).
- While Archon Fury is active you’ll get unique bonuses based on your Valorplate of choice.
Archon Fury can only be activated when the Valorplate has built up a sufficient amount of Aetherium (you pick up atherium as drops from enemies – those yelow glowing things). Cunning warriors will know the right moment to unleash their full powers neither waiting too long or activating too frivolously. There are various items that provide a synergy with Archon Fury such as increasing the Archon Fury Charge Speed by X%, increasing the Archon Fury Duration by X%, giving you more bonus damage during Archon Fury by X%, even items that prolong the Archon Fury duration by 1 second for each enemy you defeat while it is active. Archon Fury can help you obliterate bosses if you stack it with your Banner‘s effect + a well synergized Lifestone effect to stack all 3 bonuses at once.
Weapon Techniques:
Weapon Techniques are powerful weapon abilities/special attacks that you can unlock in your Skill Grid (I strongly recomend to unlock those as soon as you hit lvl 2 or 3).
- Each Weapon Class has a unique Northern Technique & Southern Technique (I’ve demonstrated those in detail for every Weapon Class in my Review of Godfall which you can watch on this link.
- You may activate your Weapon Techniques if you have a sufficient amount of charge. Each weapon class has a different behaviour in regards to how many charges it can get and how those are consumed.
- Northern Techniques always convert some of the enemy’s Health to Soulshatter Buildup while Southern Techniques are always able to deal Shoulshatter Damage.
You will encounter various items that give you Weapon Technique damage bonuses or that trigger certain effects such as: buffs, debuffs, explosions or other procs when you activate the Southern Technique, or when you activate the Northern Technique or sometimes even when you activate either of the two. One example is a Warhammer that can spawn an AoE Bubble that slows any enemies inside it upon using any of the two Weapon Techniques and has a cooldown of 120 seconds.